How to keep RV pipes from freezing while camping
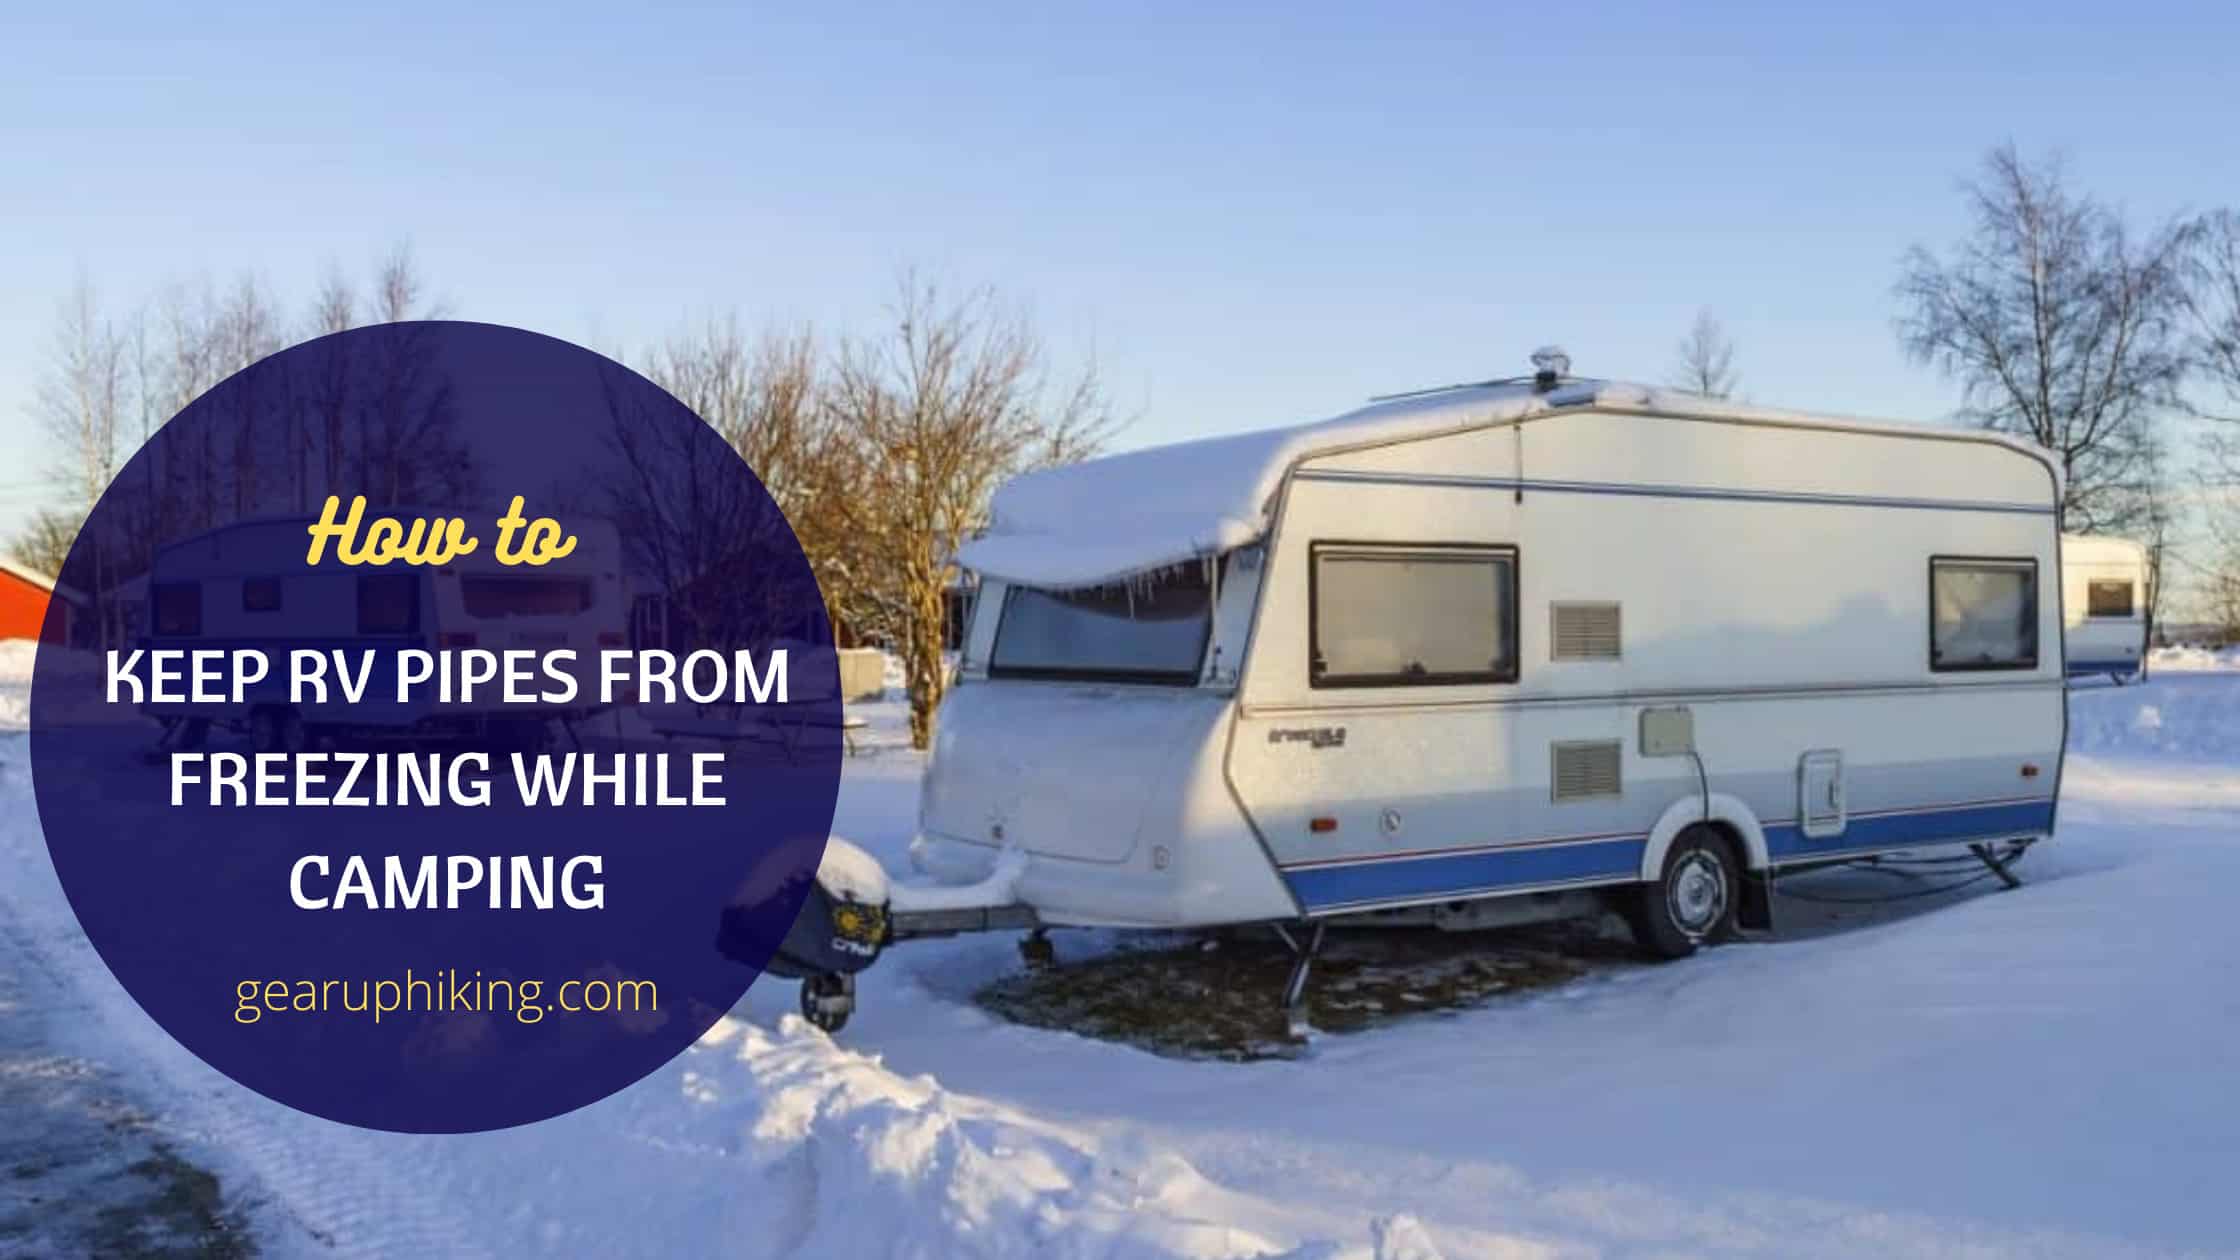
Camping in your RV doesn’t have to stop just because the temperatures have dropped. Heading out in the winter can be a lot of fun when you combine it with your favorite snow sport but the freezing conditions have unique challenges when it comes to keeping your RV operating properly.
When it comes to optimal operation in the cold one of the most important things to learn is how to keep your RV pipes from freezing while you are camping. Water doesn’t flow when it is solid ice so you will have to winterize your RV to keep the pipes and tanks functioning properly.
Risks from frozen RV pipes
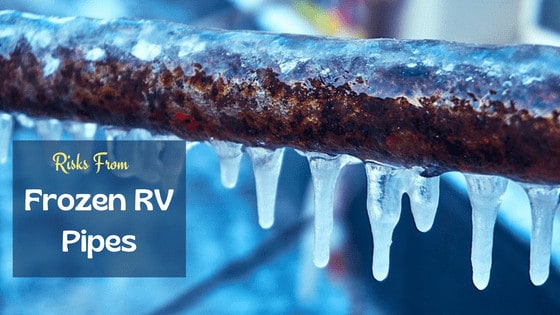
Aside from frozen pipes not allowing your water to flow since water expands when it freezes, you are at risk for pipes bursting. This can be messy and expensive as you might have to replace lines in hard-to-reach places.
When you have a burst or cracked pipe or fitting, it can also be hard to locate when buried in the walls or floor.
If your dirty water pipes burst, you can also be left with sewage leaks in your RV, which will stink and pose potential health risks.
Add Antifreeze
The simplest thing to do is drain the pipes and fill them with RV antifreeze. The downside of this is that your plumbing system isn’t functional but if you are only going out for a short trip of a night or two then you may get away without having running water.
When you are winterizing your RV make sure to only use non-toxic food-safe antifreeze. It will usually be orange or pink rather than the blue of windshield washer antifreeze.
In this case, you want to make sure you have access to a bathroom where you are going or bring a portable toilet.
Plus you will need to bring enough water for drinking and cooking. Because the water jugs and bottled water you bring will be stored in the main heated area of the RV water tank, you don’t have to worry about them freezing unless you lose heat.
Even if you aren’t going to completely drain the system, you can also add non-toxic antifreeze to the grey and black water tanks to reduce the risk of them freezing. Just don’t add this to your freshwater supply.
Use heat tape on hoses
Heat tape is a wrap that has an element in it that heats up. By wrapping your pipes with heat tape you can add warmth to keep the water in them from freezing. Most heat tape systems have a thermostat that will automatically turn on when the temperature gets too cold.
Heat tape usually runs on 120-volt power so prewarm the pipes at home before you hit the road. If your destination doesn’t have a power hookup and your RV doesn’t have a power inverter to give you 120 volts then consider bringing a gas-powered generator you can run outside your RV to give you enough power to keep your pipes warm.
Either wrap the pipe with heat tape or tape it along the bottom as heat rises. Secure the heat tape with electrical tape roughly every 12 inches.
Route the tape so the electrical connection is easily accessible.
Insulate your pipes
Whether you use heat tape or not, insulating your pipes with a wrap or foam tubes will decrease the chance of your pipes freezing. If you do have heat tape it helps keep that warmth in reducing the power requirements.
Standard plumbing insulation you can get from the hardware store will do wonders and is very inexpensive.
Open cabinet doors
Once you get to your destination open all the cabinet doors and crank up the heat. The cabinets act as insulation and can limit the amount of heat that gets to the outer walls where the pipes are.
By opening the doors you let the warm air in, giving the pipes access to more heat.
If you run the heat on high for about 15 minutes with the cabinet doors open you will retain a lot of the heat in them when they are closed. Depending on the outdoor temperature we suggest repeating this at least a couple of times per day.
If you have heat tape on your pipes and good insulation then this technique won’t be as necessary as the pipes have their own heat source.
Drain your tanks
Don’t fill your freshwater, grey, or black water tanks beyond half. Water expands when it freezes so having the tanks no more than half full decreases the risk of flooding or rupturing the tank if they do freeze.
Since water freezes from the top down any water that is added to the tank can back up if freezing has started to occur.
Install a tank heater
To keep your various water tanks from freezing, you can add tank heaters with a built-in thermostat. Like the heat tape, the tank heaters will turn on when the temperature gets too cold.
If you plan to use your RV regularly during winter temperatures then this will be an upgrade that makes your life much easier as it will allow for the emptying of the tanks, even during very cold conditions as they won’t freeze solid on you. The addition of non-toxic RV antifreeze will further reduce the risk of the grey and black water in your holding tanks freezing.
Don’t let the inside of your RV get below freezing
It has to be below 32 F (0 C) for water to freeze so a simple way to avoid your pipes freezing is don’t let the inside of your RV get below this temperature. Set the internal thermostat to keep the interior temperature at least 55 F (13 C) and you will dramatically reduce the risk of the pipes and water tanks getting cold enough to freeze.
If you are going to be out of your RV for an extended period then open the cabinets so the heat from the furnace can get to the outer walls where the pipes are located.
Add a space heater in storage bays
Plumbing pipes are often accessible through the uninsulated storage bays in your RV. By adding an electric space heater you can keep those spaces warm and keep the pipes from freezing.
This will require 120-volt power from either a hookup or generator. Keep the door to the storage bay closed as much as possible to keep the heat from escaping.
Even though it might be easier to carry extra fuel tanks don’t use a propane heater in enclosed spaces. The combustion will use up the oxygen in the space and potentially carbon monoxide can build up creating a risk of suffocation and CO poisoning.
Skirt your RV
Under your RV gets cold as air can circulate. To reduce this consider skirting from the base of your RV to the ground with quilted material.
By reducing airflow underneath you will have less heat loss through the floor, keeping your pipes and plumbing system warmer.
You can either get a skirt made for your RV or create your own. You can stick velcro strips around your RV to attach the skirt or use magnets if you have enough steel around the outside. Look for an insulated material that will also cut the wind. Make sure that it reaches the ground and doesn’t leave any openings for cold air to get into.
Insulate the whole thing
Just as you want your home to be as energy-efficient as possible, so do you want this trait in your recreational vehicle. And just like we reduce energy waste by insulating our homes we can do the same thing with our RV.
The more insulated you can make your RV the less fuel it will take to keep it warm and the less chance you will have your pipes freeze. This will also help in the summer as it will take less energy to run the air conditioner to keep things cool.
If you have a chance to test your RV in cold conditions, run the heater and go around with a thermal camera that attaches to your phone to spot cold spots. This will make it much easier to see a before and after of how well you have insulated.
We’ve already suggested insulating your pipes and skirting the underside of your RV but there are a number of other ways to insulate.
- Foam panels in the walls. RVs tend to be poorly insulated so adding insulation to the walls will do a lot to keep the heat in. This will often mean having to take the paneling off the inside or outside walls but well worth the effort.
- Insulate the floor and ceiling to further retain heat.
- Heavy curtains over the windows to reduce heat loss.
- Use expanding foam to seal any small openings and draft points.
- Add a rubber seal and wiper to the doors to reduce drafts.
- Seal and insulate in your storage compartments. The large uninsulated area that is open to the cold acts to transfer heat.
Conclusion
There is something cool about being able to hit the road in your RV any time of year. Like the postal service, neither rain nor hail or snow will keep you from going on your adventures.
Winter camping in your RV can be fun but like anything in extreme conditions, you need to prepare for it.
A big part of this is going to be winterizing your RV to handle the cold. By learning how to keep the pipes in your RV from freezing while camping you will have a much better time and save on costly repairs.
Follow the steps we’ve laid out and you will greatly reduce the risk of your water system freezing, even the coldest temperatures.


