

How To Keep A Campfire Going All Night: Full Guide
I’ll never forget my first time going hunting in the Colorado Rockies. It was October 2003, and we had brought along canvas tents with wood-burning stoves to keep us warm throughout the night where temperatures would dip down below 20°F.
The first night, I learned exactly why you need to keep a campfire going all night.
I awoke to being freezing cold around 1:00 am. The fire that had been going so strong only 4 hours earlier was gone, and the stove was ice cold.
I didn’t realize how important it was to keep the fire going all night until I was shivering and trying to get it going again all by myself!
The thing that I didn’t know then (but soon found out) is how to keep a campfire going all night. To keep a fire going all night, you must continuously maintain 3 things:
- Fuel
- Oxygen
- Heat
By managing these three things, I quickly learned how to best keep a campfire going all night long.
But how do you do this in practice?
In this article, I share some tried-and-true tips that work!
Read on.
How To Keep A Campfire Going All Night?
Here I will quickly summarize the 9 important tips that are proven to work for keeping a campfire burning through the night:
- Implementing the half inch wood rule
- Putting slow burning wood
- Adding rocks in the campfire
- Using ash to cover the wood
- Using self-feeding fire
- Mastering the tipi design
- Adding enough ventilation
- Choosing the right location
- Creating a fire bed the right way
Now let’s dive deeper into each of these tips.
Understanding The Half Inch Rule
One of the biggest mistakes that people make when starting their campfires is that they underestimate how much fuel they need to keep it going. Always bring more than you think you’ll need to be on the safe side!
To get a better sense of how much fuel you need to bring along to keep your fire going all night, remember the ½ inch rule.
This rule states that for wood that is less than 6-inches in diameter, every ½ inch will give you about half an hour worth of burn.
For example, if you have a piece of wood that measures 6-inches, it’ll burn for about 6 hours. For an 8-inch piece of wood, you have 8 hours worth of fuel. This will help you eyeball how much wood you need to keep the fire going all night. Remember that you can never have too much wood though!
Always gather more than you think you’ll need when it’s light outside to avoid searching for more wood to burn when the sun goes down!
Using slow burning wood
The best thing to do when gathering firewood is to find wood that will burn long and hot throughout the night.
Quick burning wood will only result in you burning through your fuel supply, which will require that you constantly go out to gather more wood throughout the night.
With that in mind, you want to do your best to find these types of wood, as they burn the slowest:
- Birch
- Cedar
- Ash
- Oak
- Maple
- Pine
Aside from these types of wood, focus on gathering large logs. These will help your fire stay lit all through the night, as it takes a lot of energy to burn them.
Notice a freshly burned forest and how many trees are still standing after a wildfire. One reason they are still up is that they were too wide to burn all the way down.
The larger the wood, the longer it will burn!
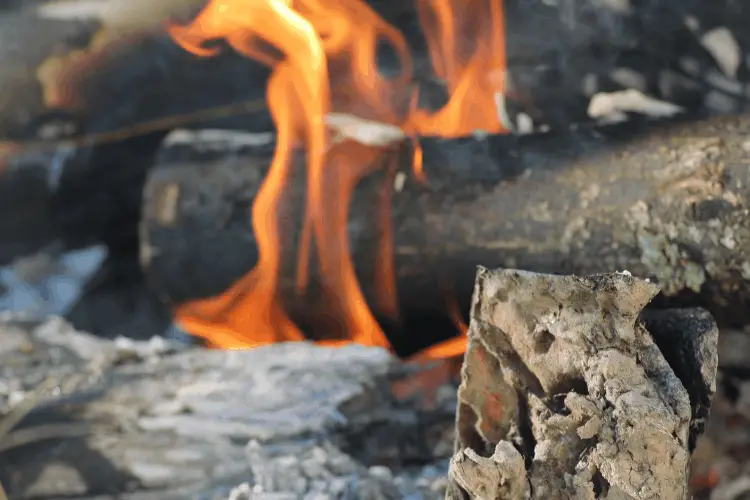
Adding rocks inside a campfire
Putting rocks into a fire can be helpful, only if you know what you’re doing.
Be extremely careful here.

Rocks can have air pockets and cracks inside of them that can expand while heated. In some cases, rocks could explode when introduced into a fire!
This can be pretty dangerous, as flying rock shards can hit you or other campers around you, resulting in some terrible injuries.
But if you use rocks properly, they can help keep the heat of the fire going without using as much fuel.
This can be incredibly helpful if you are running short of fuel and need to conserve as much of it as possible.
If you must use rocks to keep your fire lit all night, try to use several smaller rocks rather than one big one.
You can spread them out and be more efficient in maintaining the heat. Plus, you’ll reduce the risk of placing a large rock, that has a large unseen air pocket, directly into your fire!
Line the outside of your fire with the rocks and stir them into the fire whenever the fire starts to get low.
This will give the fire a bit of extra heat, which can be really helpful if you’re adding new wood onto a dying fire.
Covering the wood with ash
Covering your newly added wood with ash can be a handy thing to do, especially when the flames of your fire have died down a bit.
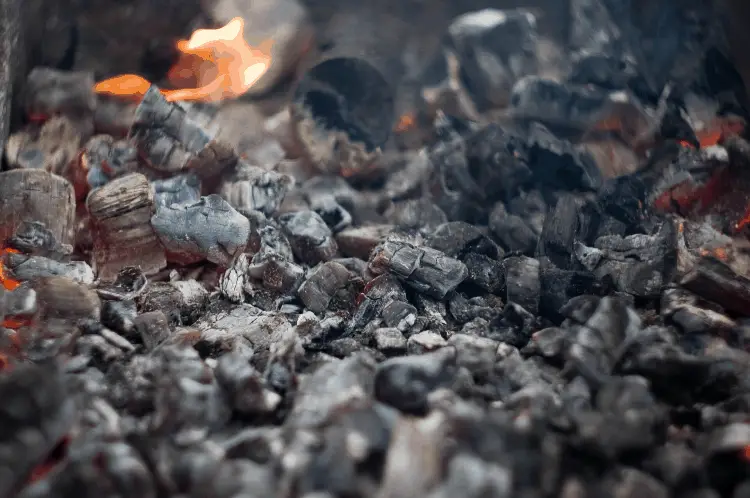
The reason why covering the wood up with ash can help your fire is that the ash is still hot from the freshly burnt wood.
Hot ash will help reignite a dying fire without you putting too much effort into starting it up again.
To cover your wood with hot ash, simply place it into the fire pit and use a short shovel or stick to scoop hot ash onto the wood. Cover it with about half an inch of wood to get maximum effectiveness.
Self-feeding fire – tips and tricks
One of the more ingenious ways of managing fuel through the night is to set up a self-feeding fire. These can be very helpful for making sure that logs are steadily being added at the right time to your fire.
Start your build by staking two 36-inch pieces of wood into the ground, about 4 feet away from your fire.
Then, place two five-foot pieces of wood on top of the wood that you staked into the ground, making sure that they end on top of the fire ring, not inside of it.
After you have set up your feeder, stack some wood onto the feeder. Start from the bottom where the fire ring is and work your way back up. The wood shouldn’t move until the piece inside the fire ring has been removed.
Once your feeder is set up, light your fire how you see fit. As the fire burns, make sure that it catches the log that is at the bottom of the feeder.
Now just sit back and watch as your fire consumes log after log! As the logs at the bottom of the feeder burn up, a new log will roll into the fire, making your job of managing the fuel a piece of cake!
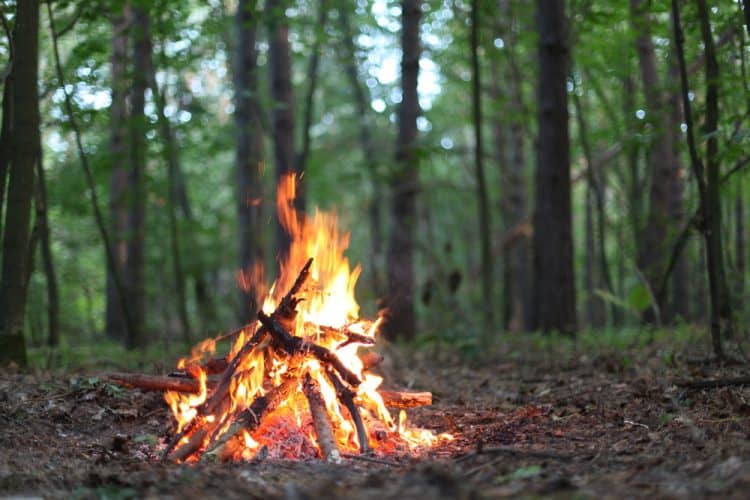
Mastering The Tipi Design
The Tipi Design for fire building is an easy and effective way to get a fire burning. It is especially effective when using dry wood, as the design encourages plenty of ventilation that will help start your fire quickly.
In order to create your fire tipi, follow these easy steps:
- Place some kindling at the bottom of your firepit. This material should be small and dry. Think newspaper, dry leaves, and dry pine needles.
- Start placing short pieces of wood, no longer than 6 inches and no thicker than 1 inch around your kindling.
- Lean the wood into the center to form a cone shape that hovers above the kindling.
- With a match or a lighter, carefully reach into the tipi to light your kindling. Lighting your kindling from a few different spots can really help the fire take off, so once one area is lit, shift to a different side and light that area as well.
- Monitor the fire to see if it needs additional oxygen. Notice if the kindling is dying down and gently blow on it if it’s no longer producing active flames.
- If your kindling goes out completely, start again by moving your tipi a bit to lay down another bed of kindling.
The most important tip when starting a fire with the Tipi Design is to be patient. If you need to take your tipi down and put a bed of fresh kindling down a handful of times, that’s ok! It takes time and practice to get it right.
If you notice that the fire isn’t going after a few attempts of putting new kindling in the middle, you may be using too big of wood to make the tipi.
If your fire does start going, don’t celebrate too quickly. The next 10 to 15 minutes are crucial to maintaining that burn!
Slowly add wood into the fire that is as big or just slightly bigger than the wood you used to create the tipi.
Balance your tipi by stacking the wood around the outside of the tipi. This will allow the flames to ignite the new wood, while also allowing for plenty of ventilation to the center of the fire.
Speaking of ventilation…
Adding ventilation is the key
Part of the reason why I struggled to get the fire going again on my hunting trip with my dad is that I didn’t give the right amount of air to the fire.
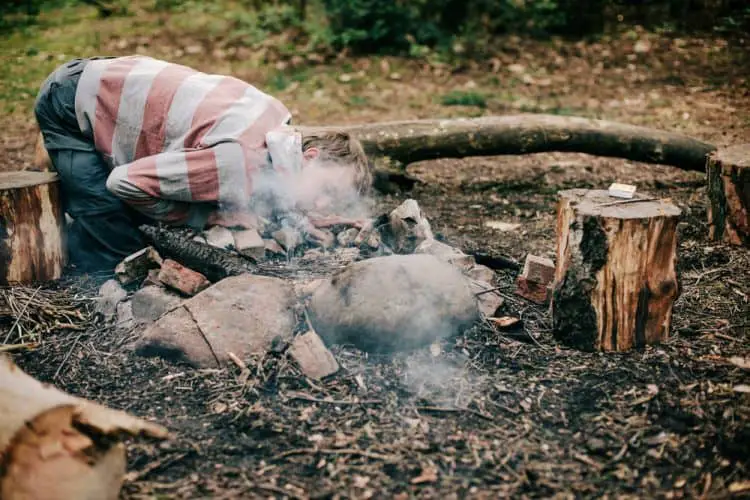
I tried all I could to do to keep the fire going when I shut the stove door, but every time I did, the fire went out.
This happened because I didn’t open the vent that was on the stove door. That vent is where the fire would draw in air to help it stay lit and burn hotter.
While having a fire all night in a stove makes ventilation a bit challenging, the same rules and principles apply to when your campfire is in a fire pit or fire ring.
It has to breathe!
For that reason, avoid stacking too much wood on top of the fire. If you notice it is struggling to come back to life after adding a few pieces of wood on top, try moving the wood around to encourage better ventilation.
If your fire has completely died down, blow into it. Get close to the coals and gently blow on them to introduce more oxygen and air flow into the coals. Read our article on why does blowing on a fire make it burn better for a few cool tricks.
That air movement will help them burn a bit hotter, which will get the fire going again.
You can even use one of those fire blowing tubes that become more and more popular. Here’s a handy guide on how to blow fire like a pro.
Choosing the right location
Choosing the right location for your fire is critical for keeping it burning for as long as possible. It’s also important for safely burning fuels, so that you don’t accidentally start a wildfire!
Where is the best place to start your fire to maximize burn efficiency, longevity, and safety?
Remember these things for when you are choosing a place to start your fire:
- Only start a fire when you’re below the tree line. High altitude areas are incredibly windy and dry, making it very dangerous if a wildfire takes off.
- Choose a place that has an established fire ring or fire pit.
- Look for large trees or boulders to serve as wind blocks.
- Avoid areas that have an abundance of dry material all over the ground.
Keeping your fire going all night will be much easier and safer if you can follow all these rules. After all, remember that you need your campfire to cook your favorite meals, dry your wet tent, and also heat your chilly tent without electricity.
creating a proper fire bed
Once you have found the best spot to have your campfire, it’s time to set the right foundation for it. This important, but often skipped step, will ensure that your fire starts easily and stays lit throughout the night.
Unless you go camping with a portable fire pan or fire pit, you’ll likely end up using the fire pit that is at the campsite you’re staying at for the night.
Most of the time, you’ll notice that people that have used that fire pit haven’t cleared it out. Partially burnt logs, aluminum cans, and a myriad of other pieces of garbage can occupy uncleared fire pits.
Creating the bed for your fire is important, because you’ll ensure that you are burning fresh fuels.
You also get the added benefit of creating a level space to start your fire. This will help you create a balanced fire that will burn evenly through the night, resulting in you using your fuels more efficiently.
And that fire will help in keeping annoying insects out of your tent for longer.
Important Safety Tips To Follow
If you’re going to have a campfire that is burning all night, you need to be sure to do so responsibly.

From Visually.
Fires that are open and not contained in a stove must have constant vigilance. Sparks can jump out of a pit and catch the surrounding area on fire, leading to an uncontrollable wildfire if you’re not able to stomp out the spark quick enough.
For this reason, it’s important to keep a fire watch going all through the night. This works best when you’re camping with at least one or two other people.
Take turns staying up with the fire to ensure that it stays within the confines of the fire pit by setting a scheduled watch cycle.
Start by assigning everyone in the group a specific amount of time to stay up and watch the fire. Try to give yourself and your partners about 2 hours of sleep between their shifts, so that everyone has an opportunity to get some rest during the night.
Depending on how many people you have in your group, you’ll need to adjust the number of hours that someone spends on fire watch during the night.
Last but not least, always keep water at a close distance and carry a portable fire-extinguisher.
Conclusion
Knowing how to keep a campfire running all night is an important camping skill. Mastering it could be extremely helpful in many circumstances.
Keeping a fire lit all night can be a challenging, but doable endeavor. The easiest way to remember how to maintain a campfire going all night is to consistently manage the fuel, heat, and oxygen that is going into your fire.
Pick out the best wood to put into your fire and be sure to stock up on enough to last you through the night.
Consider putting rocks into your fire to help it stay lit, should it go out and you need a bit of help to ignite it again.
And be sure that you don’t accidentally drown your fire out by stacking too much wood on top and cutting off the fire’s oxygen.
If you remember these three critical things, you’ll be able to learn from my mistakes and keep that fire going all through the night!
Josh Stoneking
From the mountains of Colorado to the deserts and beaches of California, Josh has been all over the place. An expert in camping, hiking, backpacking, and almost all things river related, Josh can be found doing just about anything and everything outside. Read more about Josh here.